Get Easy Health Digest™ in your inbox and don’t miss a thing when you subscribe today. Plus, get the free bonus report, Mother Nature’s Tips, Tricks and Remedies for Cholesterol, Blood Pressure & Blood Sugar as my way of saying welcome to the community!
Yoga basics for a bigger mind, a better body and inner peace

Yoga is one of the highlights of my day. I always feel better after I’ve spent time mindfully focused on my breathing while twisting and turning into poses that make my kids laugh. It’s a fun and fulfilling half hour of “me” time.
Once I’m done, I’m ready to get back to my day with more energy, more creativity and more confidence. But it wasn’t always like that.
Before I began my yoga practice, I was exhausted, stressed, stiff, achy and unhappy. Then a friend mentioned how much yoga had helped her and I figured it was worth a shot. And, it’s really changed my life.
If you don’t currently practice yoga on a regular basis, you’re missing out. If you’d like to give it a try to see if it’s for you, there’s no better time like the present. Here’s how to get started at home as a beginning yogi…
Your at-home yoga practice
Creating your home yoga practice is easy. Here are a few tips to help you get kicked off the right way:
- Find a quiet place – Yoga can be both challenging and relaxing at the same time. You want to find a quiet place, put on your favorite relaxing music and just be in the moment.
- Don’t eat first – Believe me, even when you’re starting with the basic poses, you don’t want to do yoga on a full stomach.
- Enlist a partner – If you don’t want to practice alone, do what I did and convince a partner to join you. Your spouse, a friend or your kids can make for great yoga buddies.
- Pick the time of day that works for you – I’m a morning yoga person but I know people that prefer to practice in the evening before bed. Whatever works for you, the point is to be consistent.
Now that you know how to get started, let’s go over the best basic yoga poses for beginners…
#1 – Cow/Cat
For this pose, you should start on your hands and knees with your wrists directly underneath your shoulder and knees under hips. Begin in a neutral spine posture with your spine flat and head in line with your spine.
As you inhale, let your belly drop down toward the floor as you look up. Follow this by exhaling as you pull your spine toward the ceiling, rounding your back, letting your head drop down to look toward your navel. Repeat as you continue inhaling and exhaling, focusing on your breath.
#2 – Downward Dog
As in the cat/cow pose above, start on your hands and knees, hands directly under shoulders, knees under hips. Next, walk your hands out a few inches forward and spread your fingers wide. You should be pressing your palms into mat to give you a good base.
Now, curl your toes under and slowly press your hips toward ceiling. You will look like and upside down V. Be sure to press your shoulders away from your ears and keep your feet hip-width apart and your knees slightly bent.
Hold for through three full breath cycles and return to your starting position.
#3 – Warrior
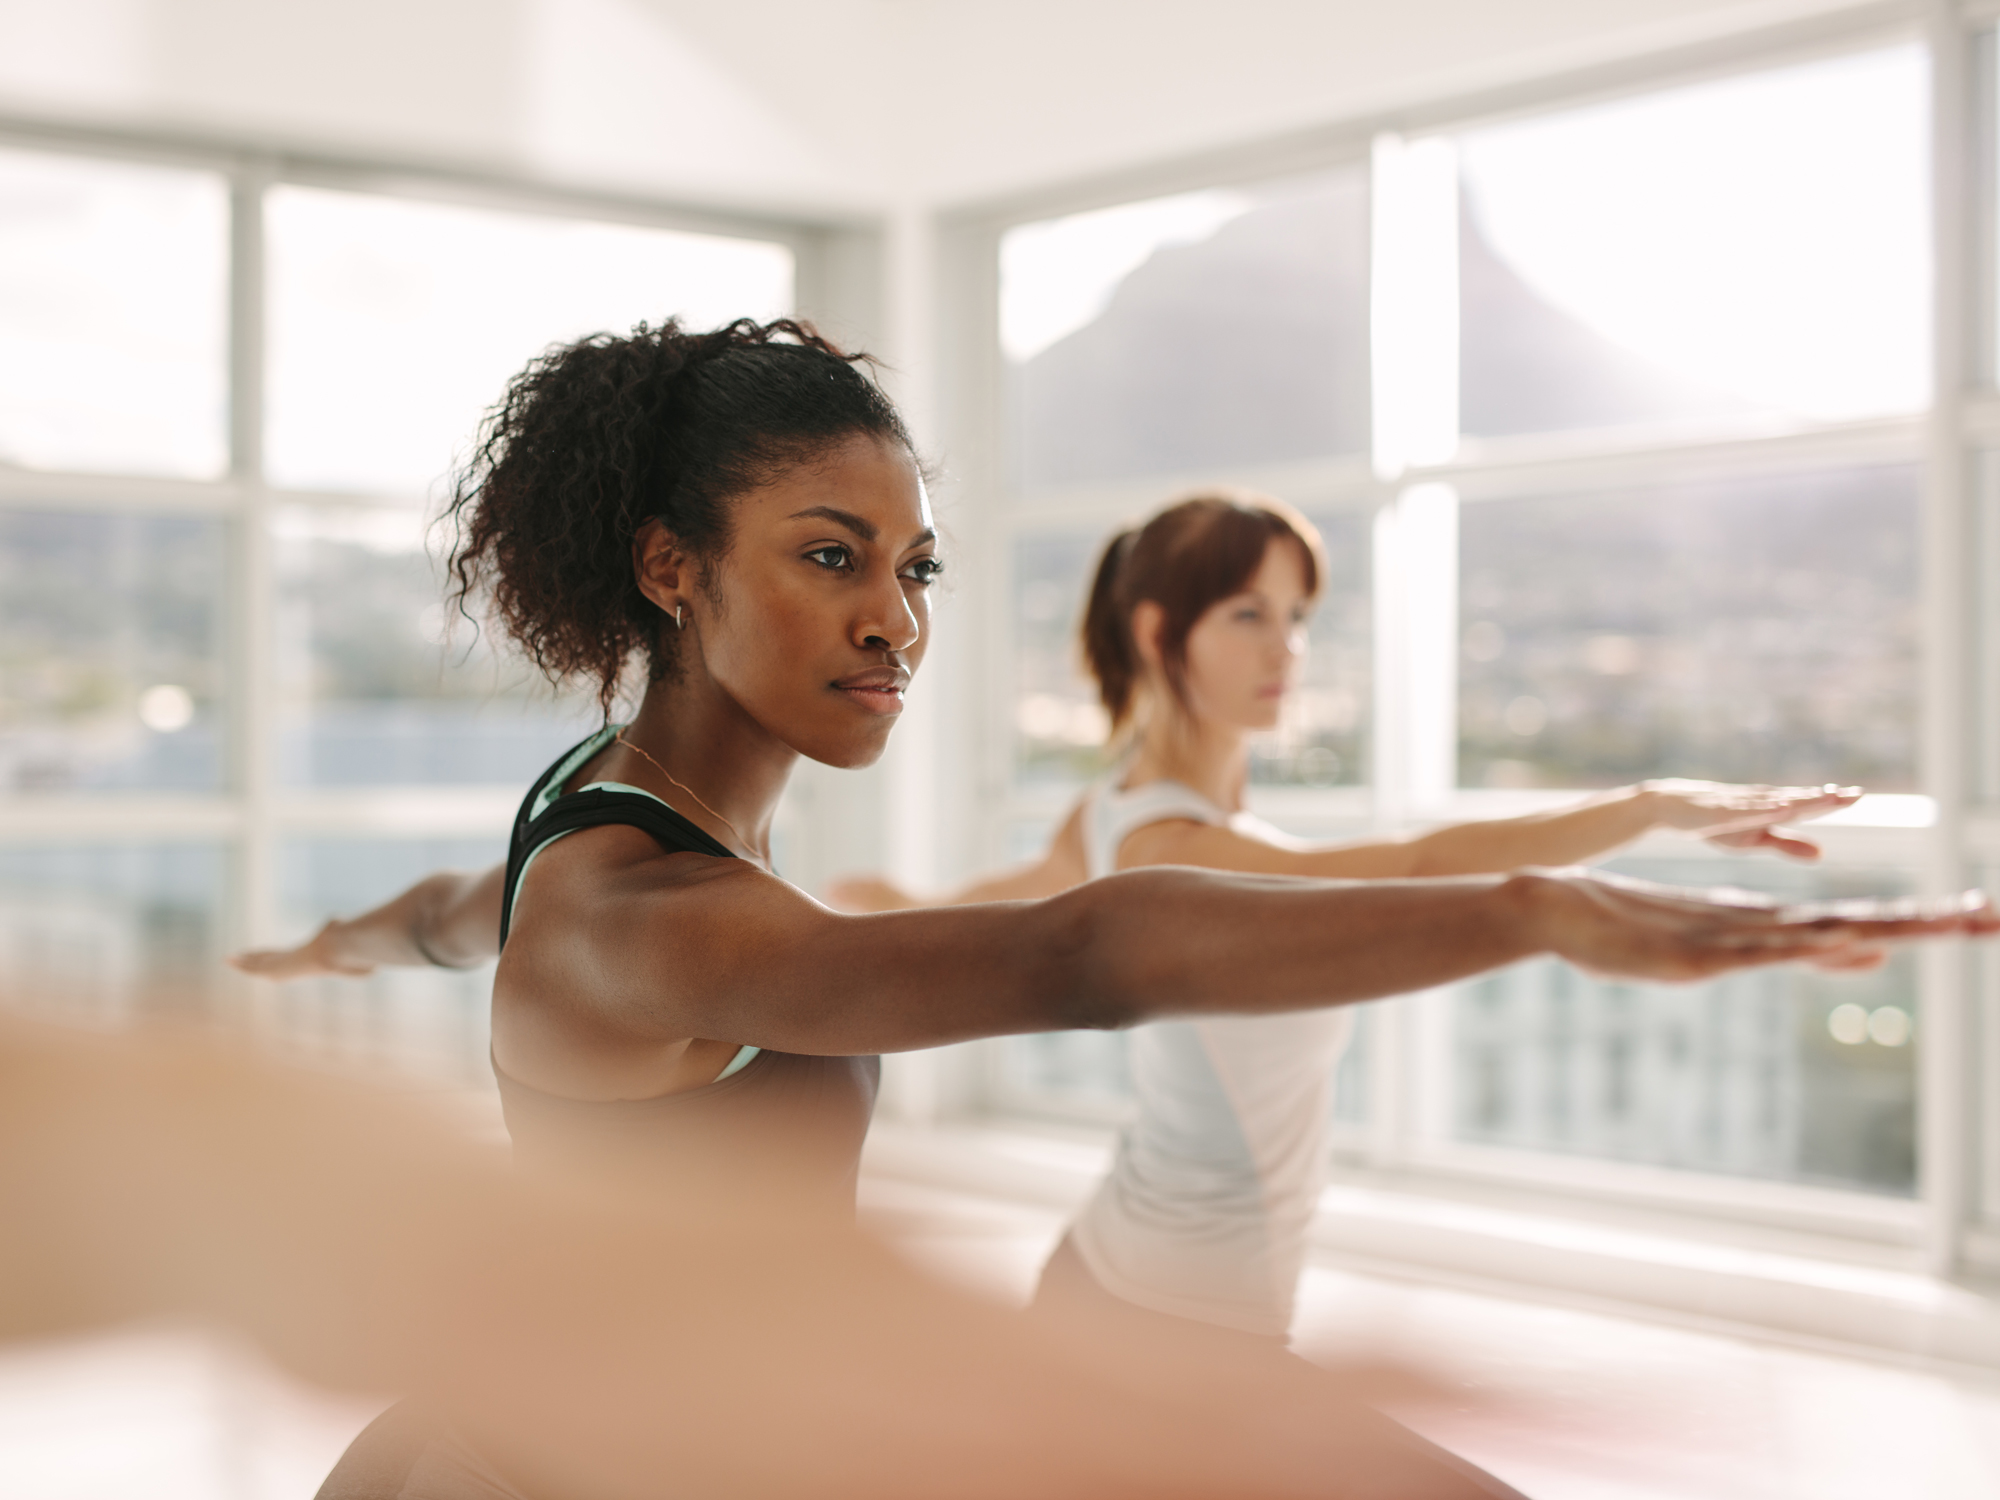
Unlike the first two, this is a standing pose. Stand with your legs three to four feet apart. Turn your left foot out 90 degrees and your right foot in slightly. Next, extend your arms out to the sides with your palms down.
As you hold this pose, bend your left knee 90 degrees, making sure to keep your knee over your ankle. Look out over your left hand and hold the pose for one minute. Now repeat on the other side.
#4 – Mountain
Continue standing tall, but this time bring your feet together. Allow your arms to drop to your sides and your shoulders to relax. Next, take a deep breath, raising your hands above your head with your palms facing each other and your arms straight.
Reach toward the ceiling with your fingertips.
#5 – Seated Twist
Now, you’re going to move to a seated position with your legs extended in front of you. Next, cross your left foot over the outside of your right thigh, bending your left knee to point toward the ceiling.
Twist left to place your right elbow on the outside of your left knee and put your left hand palm-down on the floor behind you. Hold for one minute and then change sides.
#6 – Corpse
The corpse pose or Savasana should be included at the end of every practice as a time to relax, integrate your work and heal.
And, it’s pretty much exactly what it sounds like.
Simply lie on your back with your legs straight. Allow your arms to relax to your sides, your palms up. Close your eyes and focus on your breathing, letting your body sink into the floor. Consciously release every part of your body, working from the bottoms of your feet to the top of your head.
Stay in this pose for five minutes for every 30 minutes that you practice.
To come out of the pose, start by wiggling your fingers and toes, then roll to your right side and rest for just a moment. Slowly press up into a seated position.
Don’t wait to start your own regular yoga practice to grab the benefits of relaxation, creativity and confidence it can bring. Use the tips and basic poses above to kick off your yoga practice at home and enjoy how it enhances your life each day.


